Warehouse floors take a beating every single day. Forklifts, pallet jacks, heavy machinery, and constant…
A Complete Guide to the Epoxy Flooring Installation Timeline
Thinking about getting epoxy flooring installed, but not sure what the process actually involves? Understanding what happens during a professional installation helps you prepare your space, plan around the work, and know exactly what to expect from start to finish.
Sunshine Coast Garage & Epoxy Floors walks clients through every step of the installation process, ensuring minimal disruption and maximum results. Here’s a detailed look at what happens when professionals transform your concrete floor with a durable epoxy coating.
Pre-Installation Preparation: Site Assessment and Surface Evaluation
Before any work begins, the team conducts a thorough assessment of your concrete floor. This detailed evaluation determines the entire approach to your installation.
During this stage, they check for moisture issues, existing cracks, oil stains, and the overall condition of the concrete. They’ll test the concrete’s strength and porosity to ensure it can properly bond with the epoxy system. Any underlying problems get identified now, not halfway through the job.
The team will also discuss your specific needs—whether you want a solid colour, decorative flakes, or a metallic finish. They’ll help you choose colours and textures that suit your space, whether it’s a garage, workshop, or commercial area.
You’ll receive a clear timeline for the work, including how long each stage takes and when you can start using your floor again. This preparation phase ensures there are no surprises once the actual installation begins.
Day 1: Concrete Grinding, Crack Repair, and Surface Preparation
The first day of installation focuses entirely on preparing your concrete surface. This is the most critical stage—proper preparation determines how well your epoxy floor performs for years to come.
Sunshine Coast Garage & Epoxy Floors uses professional diamond grinding equipment to remove any existing coatings, sealers, or contaminants from the concrete surface. This creates the rough texture needed for the epoxy to bond properly. It’s a dusty process, but they use industrial dust extraction systems to minimise mess.
Any cracks, holes, or damaged areas are repaired during this stage. The team fills these imperfections with specialised repair compounds, ensuring a smooth, level surface.
Once grinding is complete, the entire floor gets thoroughly cleaned. Every bit of dust, debris, and contamination must be removed—even small particles can prevent proper bonding. The team uses industrial vacuums and cleaning solutions to achieve a spotless surface.
The Application Process: Base Coat, Flakes, and Topcoat Layers
With the surface properly prepared, the actual epoxy application begins. Professional installations use multiple layers to create a durable, long-lasting floor system.
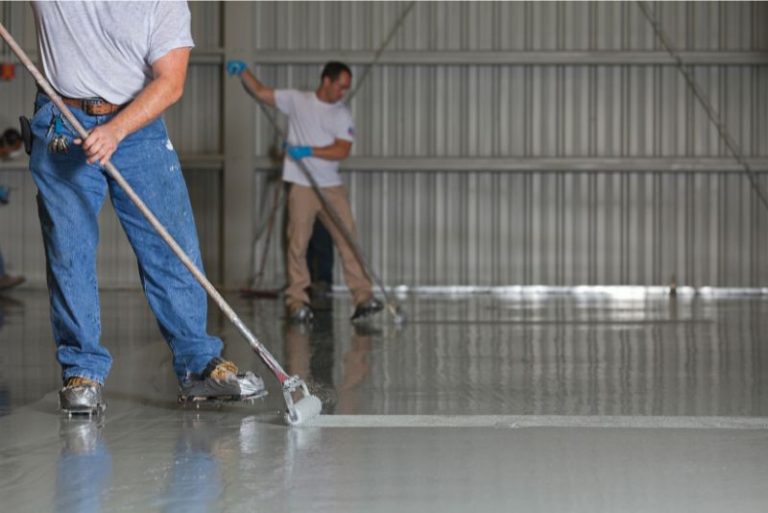
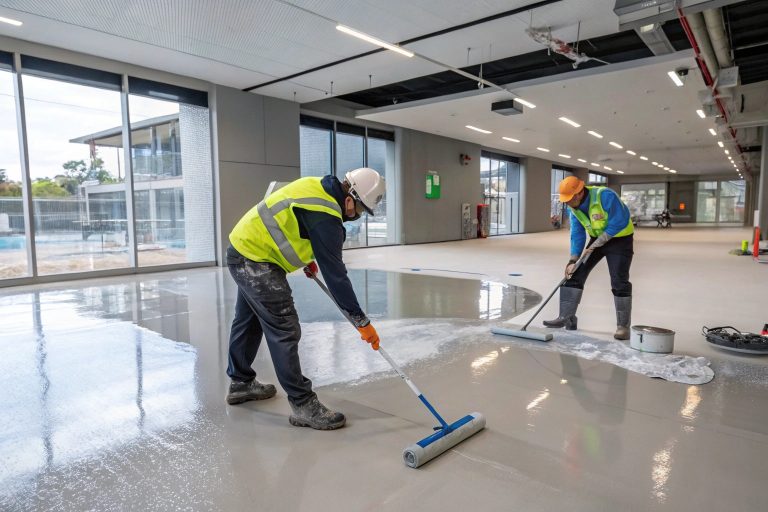
The base coat goes down first. This specially formulated epoxy primer penetrates the concrete and creates a strong bond. The team applies it evenly across the entire surface using rollers and squeegees.
If you’ve chosen a decorative flake finish, the coloured flakes get broadcast into the wet base coat. Sunshine Coast Garage & Epoxy Floors applies these flakes to your desired coverage level—light, medium, or full broadcast. This step adds texture, visual interest, and extra durability to your floor.
After the base coat cures, any excess flakes are scraped off, and the surface is lightly sanded to remove any sharp edges. Then comes the clear topcoat.
Each layer needs time to cure before the next one can be applied, which is why professional installations typically span multiple days.
Curing Times and When You Can Use Your New Floor
Patience is essential after epoxy installation. While the floor may look dry, it needs proper curing time to achieve its full strength and durability.
You can typically walk on your new epoxy floor after 24 hours. However, this doesn’t mean it’s fully cured—it just means the surface is hard enough for light foot traffic.
For vehicle traffic or placing heavy items on the floor, you’ll need to wait 3-5 days. The team provides specific timelines based on the products used and current temperature conditions.
Full cure—when the epoxy reaches its maximum hardness and chemical resistance—takes about 7 days. During this time, avoid harsh cleaning chemicals and be gentle with the surface.
Post-Installation Care and What Happens After We Leave
Once the installation is complete, Sunshine Coast Garage & Epoxy Floors doesn’t just pack up and leave. They conduct a final inspection to ensure everything meets their quality standards.
You’ll receive detailed care instructions for your new floor. These cover daily cleaning methods, what products to use (and avoid), and how to maintain that showroom finish for years to come.
The team addresses any questions you have about your new floor and explains what’s normal during the first few weeks. Some minor odour is typical as the epoxy fully cures, and this will dissipate naturally with ventilation.
They’ll also explain your warranty coverage and what to do if you notice any issues down the track.
Ready for a Professional Epoxy Floor Installation?
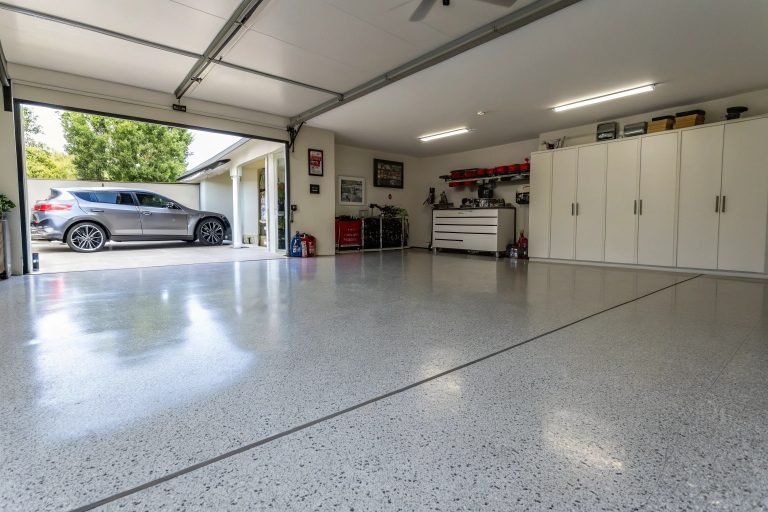
Now you know exactly what happens during a professional epoxy floor installation—from initial assessment through to final curing. With the right preparation, quality products, and experienced installers, you’ll have a stunning, durable floor that lasts for decades.
Sunshine Coast Garage & Epoxy Floors brings years of experience to every installation, ensuring your project runs smoothly from start to finish. Contact them today for a free assessment and quote, and discover how epoxy flooring can transform your space.