If you've ever walked into a workshop, café kitchen, or retail space and thought "wow,…
Epoxy Flooring Installation Timeline for Buderim Projects
You’ve found the epoxy flooring you want. The colour, the finish, the system — it’s all sorted. Now comes the question nobody thinks to ask until it’s too late: how long is your garage, workshop, or business floor actually going to be out of action?
It sounds simple. It rarely is.
In Buderim, coastal humidity adds a layer of complexity that most generic timelines don’t account for. Get the scheduling wrong and you’re looking at delays, a car parked on the street for longer than expected, or worse — a commercial space that can’t reopen when you told your customers it would.
This guide covers the full epoxy flooring installation time for Buderim properties, from surface prep on Day 1 right through to when you can park your car, run your equipment, or open your doors. You’ll learn what each phase actually involves, how long curing takes in Queensland’s climate, and what can push your project out if it’s not planned for upfront.
Whether you’re coating a double garage in Buderim, a home workshop in Sippy Downs, or a commercial space in Maroochydore — this timeline applies to your project.
How Long Does Epoxy Flooring Take to Install?
Epoxy flooring installation in Buderim typically takes 2 to 3 days on-site, plus a full cure period of 5 to 7 days before heavy use. Here’s what each phase covers:
- Day 1 — Surface Preparation: Diamond grinding, crack repairs, and priming (6–8 hours)
- Day 2 — Base Coat & Decorative Layer: Epoxy application and flake or colour broadcast (4–6 hours)
- Day 3 — Top Coat Seal: Final protective coat applied and left to begin curing
- 24–48 hours: Light foot traffic only
- 5–7 days: Full cure for vehicles, machinery, or heavy loads
One thing most online timelines skip over entirely — Buderim’s coastal humidity can extend curing by 24 to 48 hours. That’s not a worst-case scenario. For jobs scheduled in summer, it’s closer to standard. An installer who doesn’t factor that in from the start is setting you up for a frustrating finish.
Pre-Installation Preparation Phase
Most people focus on the finished floor. The phase that actually determines whether the job succeeds or fails happens before a single drop of epoxy is mixed. Pre-installation prep is consistently underestimated — by homeowners and business owners alike — and it’s where cut-price jobs tend to unravel first.
Site Assessment and Moisture Testing
A professional assessment covers moisture readings, crack mapping, and a surface contamination check. In Buderim, coastal proximity makes moisture testing non-negotiable — not a box-ticking exercise. AS 3958.1 is the relevant Australian standard for substrate preparation, and any licensed installer should be working to it.
Clearing and Protecting the Space
Residential clients should allow 1 to 2 days prior to installation for clearing the space. Commercial clients need longer — staff communication and customer-facing signage for closure periods should be sorted well in advance, not the morning the crew arrives.
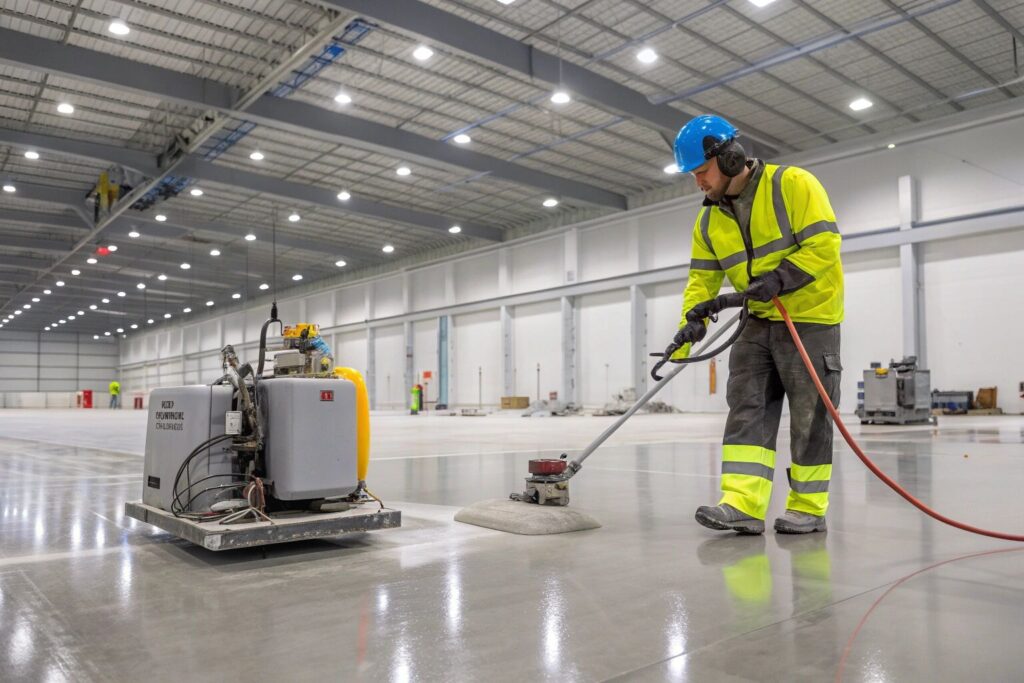
Day 1 — Surface Preparation and Priming
Day 1 sets the foundation for everything that follows. It’s also the longest and least glamorous part of the job — but skip a step here and the coating will tell you about it within 12 months.
Here’s how we run Day 1:
- We diamond grind or shot blast the concrete surface to open the pores and give the epoxy something to bond to (2–3 hours)
- We vacuum and clean all ground debris before anything else goes down
- We repair cracks and spalling using epoxy filler or polyurea compounds — no shortcuts
- We run a second moisture check post-grind to confirm the substrate is ready
- We apply the primer coat and allow the full cure window before we touch anything else (3–4 hours)
We don’t rush the primer cure. In Queensland’s humidity, cutting that window short is the most common cause of delamination failures we see on other contractors’ jobs. That extra few hours on Day 1 is cheap insurance against a floor that lifts six months later.
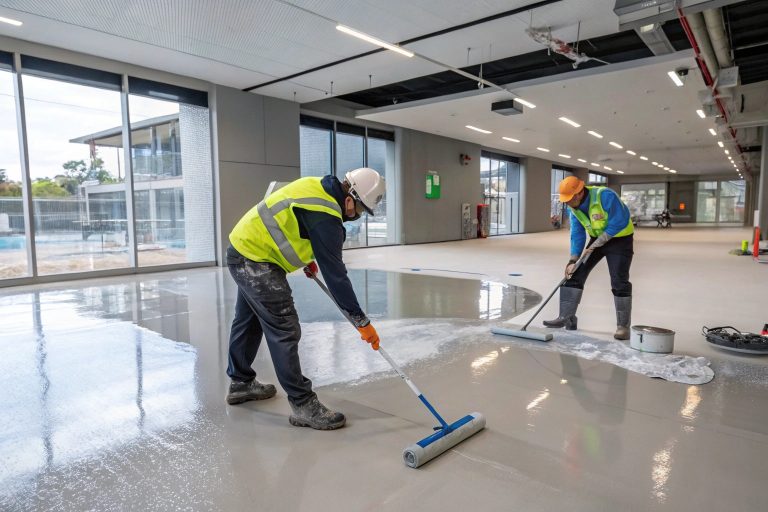
Day 2 — Base Coat and Decorative Application
Day 2 is where your floor starts to take shape. The grinding and repairs are done — now we’re putting colour, texture, and protection on the concrete.
We mix and apply the base coat epoxy by roller, working in sections across the floor. If you’ve chosen a decorative flake or quartz broadcast, we scatter it into the wet epoxy while it’s still open, then remove the excess once the surface reaches the right tack.
Timing matters more on Day 2 than any other stage. Once epoxy is mixed, we have a pot life of 20 to 40 minutes depending on temperature before it starts to go off. In Buderim’s summer heat — where temperatures regularly sit between 28 and 32°C — that window shrinks fast. We start early and work in sections to stay ahead of the heat.
💡 Buderim Installer Tip: Summer temperatures above 30°C can push pot life under 20 minutes. Starting at first light and working methodically in sections is how we keep the finish consistent across the whole floor.
Once the decorative layer is set, the floor is hands-off for the next 12 to 16 hours.
Curing Time and Weather Considerations
The coats are down — but the clock is just starting on the most misunderstood part of any epoxy job. Curing isn’t the same as drying. The floor can look and feel ready long before it actually is.
Here’s the full cure stage breakdown for Buderim installations:
| Cure Stage | Timeframe | What’s Permitted |
|---|---|---|
| Initial set | 12–24 hours | No traffic |
| Light foot traffic | 24–48 hours | Walking only |
| Furniture & light equipment | 48–72 hours | Careful placement |
| Vehicle traffic | 5–7 days | Cars, light vans |
| Full heavy-duty cure | 7 days+ | Machinery, forklifts |
According to Bureau of Meteorology data, Buderim’s coastal humidity regularly peaks above 70% through summer, and that alone can push each stage out by 24 hours. Rapid-cure systems exist, but they come with trade-offs in surface hardness and long-term durability — something worth discussing with us before you commit to a faster schedule.
⚠️ Before You Book: If your concrete has never been professionally assessed for moisture, build an extra day into your timeline. Buderim’s coastal water table makes this one of the most common project extenders we deal with.
Our Buderim installations carry a warranty on delamination and surface failure — provided the cure timeline above is followed during those first 7 days.
When Can You Use Your New Epoxy Floor?
Knowing the cure stages is one thing — knowing what that means for your specific situation is another. Here’s how the timeline maps to real life.
Residential Garage:
- Foot traffic and kids in the space: Day 2
- Bins and outdoor furniture: Day 3
- Park your car: Day 5–7
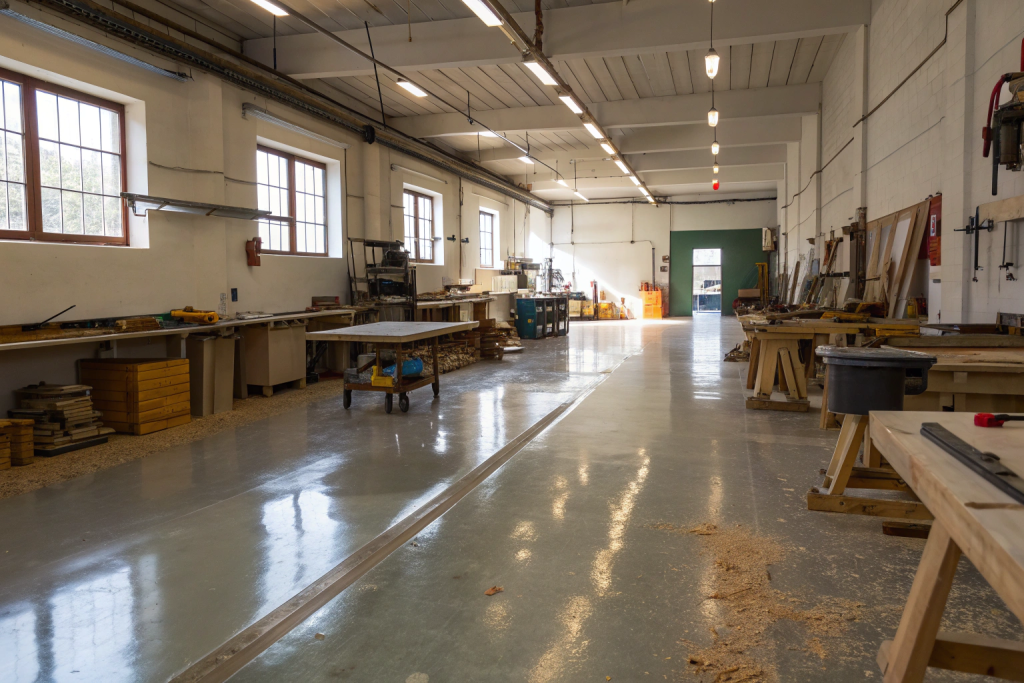
Home Workshop:
- Light bench work and hand tools: Day 3
- Rolling tool cabinets and heavy equipment: Day 7+
- Vehicle hoists or hydraulic lifts: Full 7-day cure minimum
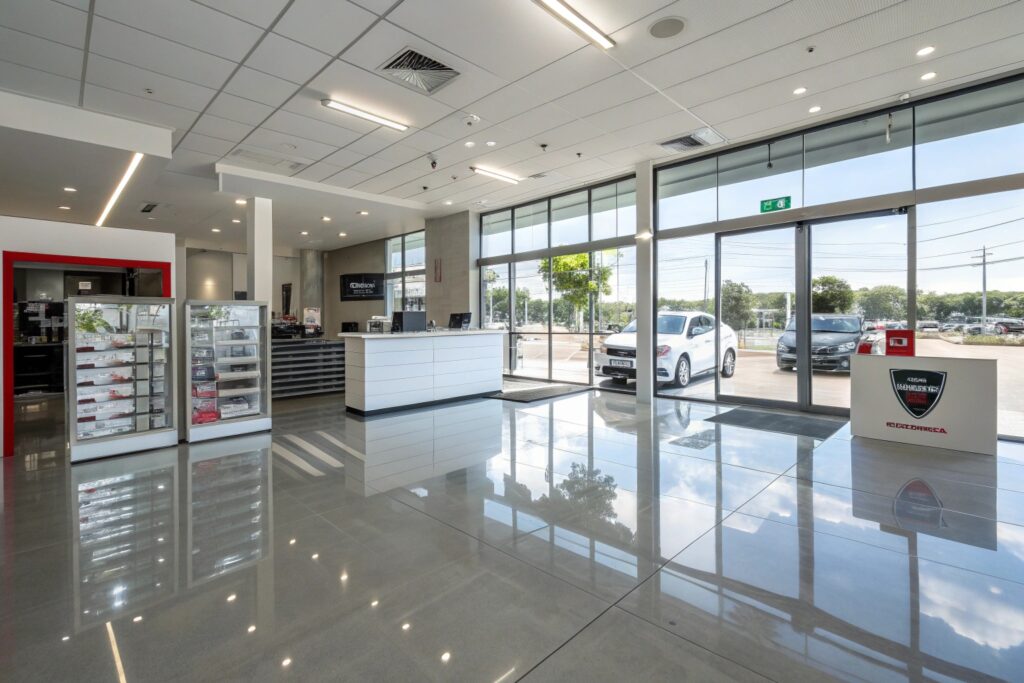
Commercial Space:
- Staff foot traffic only: Day 2
- Customer-facing reopening: Day 3 recommended
- Heavy trolleys, forklifts, or pallet jacks: Day 7+
One thing we see regularly with commercial clients — the pressure to reopen before Day 3 is real, but scuff marks and surface damage in the first 48 hours aren’t covered under warranty. A Friday install with a Monday customer-facing open is a schedule we can work to. A Friday install with a Saturday open isn’t one we’d recommend.
Factors That Extend Installation Time
These timelines assume a straightforward installation. Here’s what can change them — and why we’d rather tell you upfront than surprise you mid-project.
- Poor substrate condition: Cracked, contaminated, or previously sealed concrete adds 4–8 hours of prep work before we can even think about coating
- High moisture readings: A moisture barrier coat may be required — that adds a full day to the schedule
- Coastal humidity in Buderim: Extended cure windows between coats are common in summer months — this is Sunshine Coast reality, not an excuse
- Large floor areas: Commercial spaces over 300sqm typically run to a 4–5 day schedule
- Multi-coat systems: Metallic or three-coat broadcast systems add at least one additional day
- Weather delays: Rain or temperatures below 10°C will halt application — rare in Buderim but worth accounting for in winter months
For commercial clients or property investors managing multiple sites, scheduling across properties requires planning well in advance — particularly through the summer period when humidity is at its peak.
For surface coating standards relevant to commercial and industrial spaces, WorkSafe Queensland and the QBCC are the two bodies worth referencing before any large-scale project gets underway.
Ready to Plan Your Buderim Epoxy Installation?
Now that you know what the process involves, the next step is a free on-site assessment. We’ll give you an exact installation schedule based on your floor condition, space type, and preferred start date — no guesswork, no generic timelines.
Sunshine Coast Garage & Epoxy Floors 📞 0741 586 001
We respond to all Sunshine Coast enquiries within 1 business day.
What happens next:
- We visit your site at no cost and assess your floor condition
- You receive an exact timeline specific to your floor, your schedule, and your space
- Installation begins on a date that works around your life or your business
Service areas: Buderim, Maroochydore, Sippy Downs, Noosa, Caloundra, Mooloolaba and surrounding Sunshine Coast suburbs.